

Build a voice agent with Claude Code
For the complete documentation index, see llms.txt.
Use Claude Code and Voximplant AI Agent Skills to connect an existing ElevenLabs agent to inbound calls. Claude writes the VoxEngine scenario, configures a separate test application after your approval, deploys it, and gives you credentials for a browser-based test call.
The walkthrough takes about 10–15 minutes once your Voximplant and ElevenLabs accounts are ready. You do not need to buy a phone number.
This guide starts with an ElevenLabs agent that is already configured. Its prompt, voice, and tools remain in ElevenLabs; Voximplant provides the telephony, routing, and VoxEngine orchestration.
Before you start
You need:
- A Voximplant account.
- A dedicated local project folder. An empty folder is recommended for this walkthrough.
- Claude Code, signed in and able to access your local project folder.
- An existing ElevenLabs agent.
- An ElevenLabs Agent ID and an API key with ElevenAgents: Write access.
Never paste your main Voximplant password, browser cookies, or a service account private key into chat. Keep credentials in local ignored files, and let Claude pass file paths to tools without reading private key contents into the conversation.
Part 1: Set up Voximplant
Prepare the project folder
Create a dedicated folder for the project. For the cleanest walkthrough, start with an empty one. Add this .gitignore before placing credentials in the folder:
This prevents the common credential filenames used in this guide from being committed.
Create a service account
Open Service accounts
Sign in to the Voximplant control panel, then go to Settings → Service accounts.
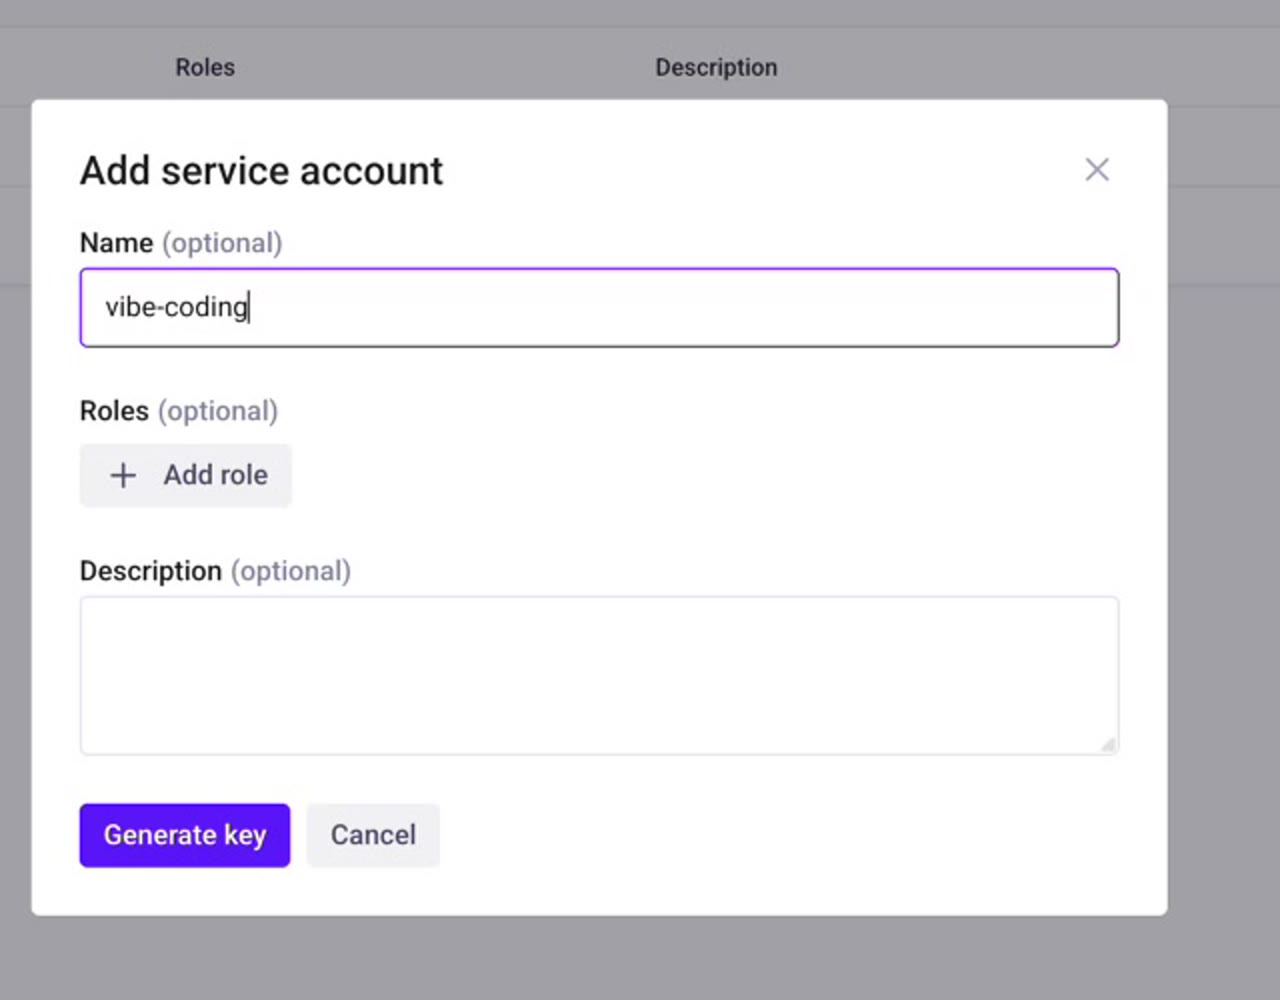
Claude needs only the filename or path. Do not open the JSON file or paste its contents into the conversation.
Part 2: Prepare ElevenLabs
Open your agent in the ElevenLabs Agents console and copy its Agent ID.
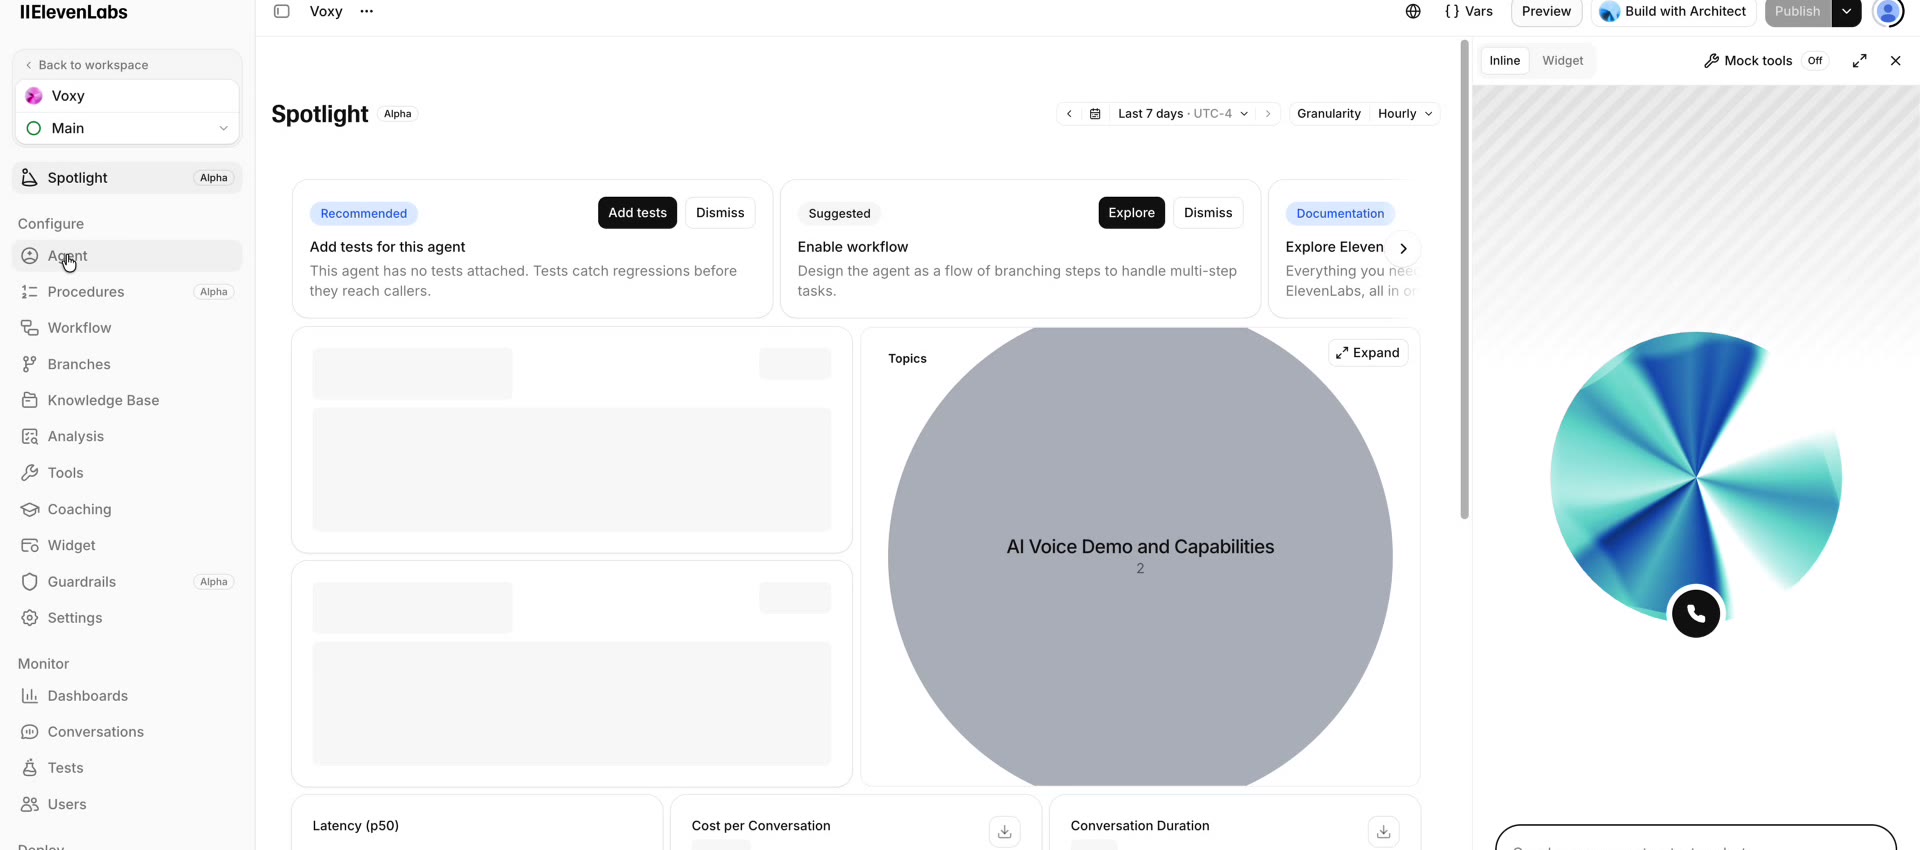
Then create a restricted API key. Disable access to unrelated endpoints and grant Write access to ElevenAgents.
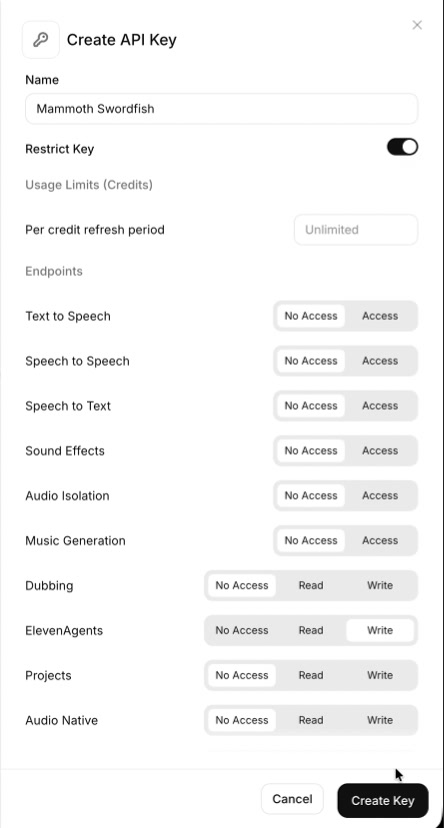
Create a local .env file in the project folder:
Claude stores these values in Voximplant Secrets during deployment, so they are not hardcoded in the scenario.
Part 3: Build with Claude Code
Install Voximplant AI Agent Skills
Open Claude Code and paste this prompt:
Claude examines the repository, registers its plugin marketplace, and installs the plugin. Review and approve the commands if Claude asks for permission.
The plugin contains two complementary skills:
voximplant-voxengine-devwrites and validates the VoxEngine scenario.voximplant-management-apicreates resources, deploys the scenario, configures secrets, and retrieves call evidence for debugging.
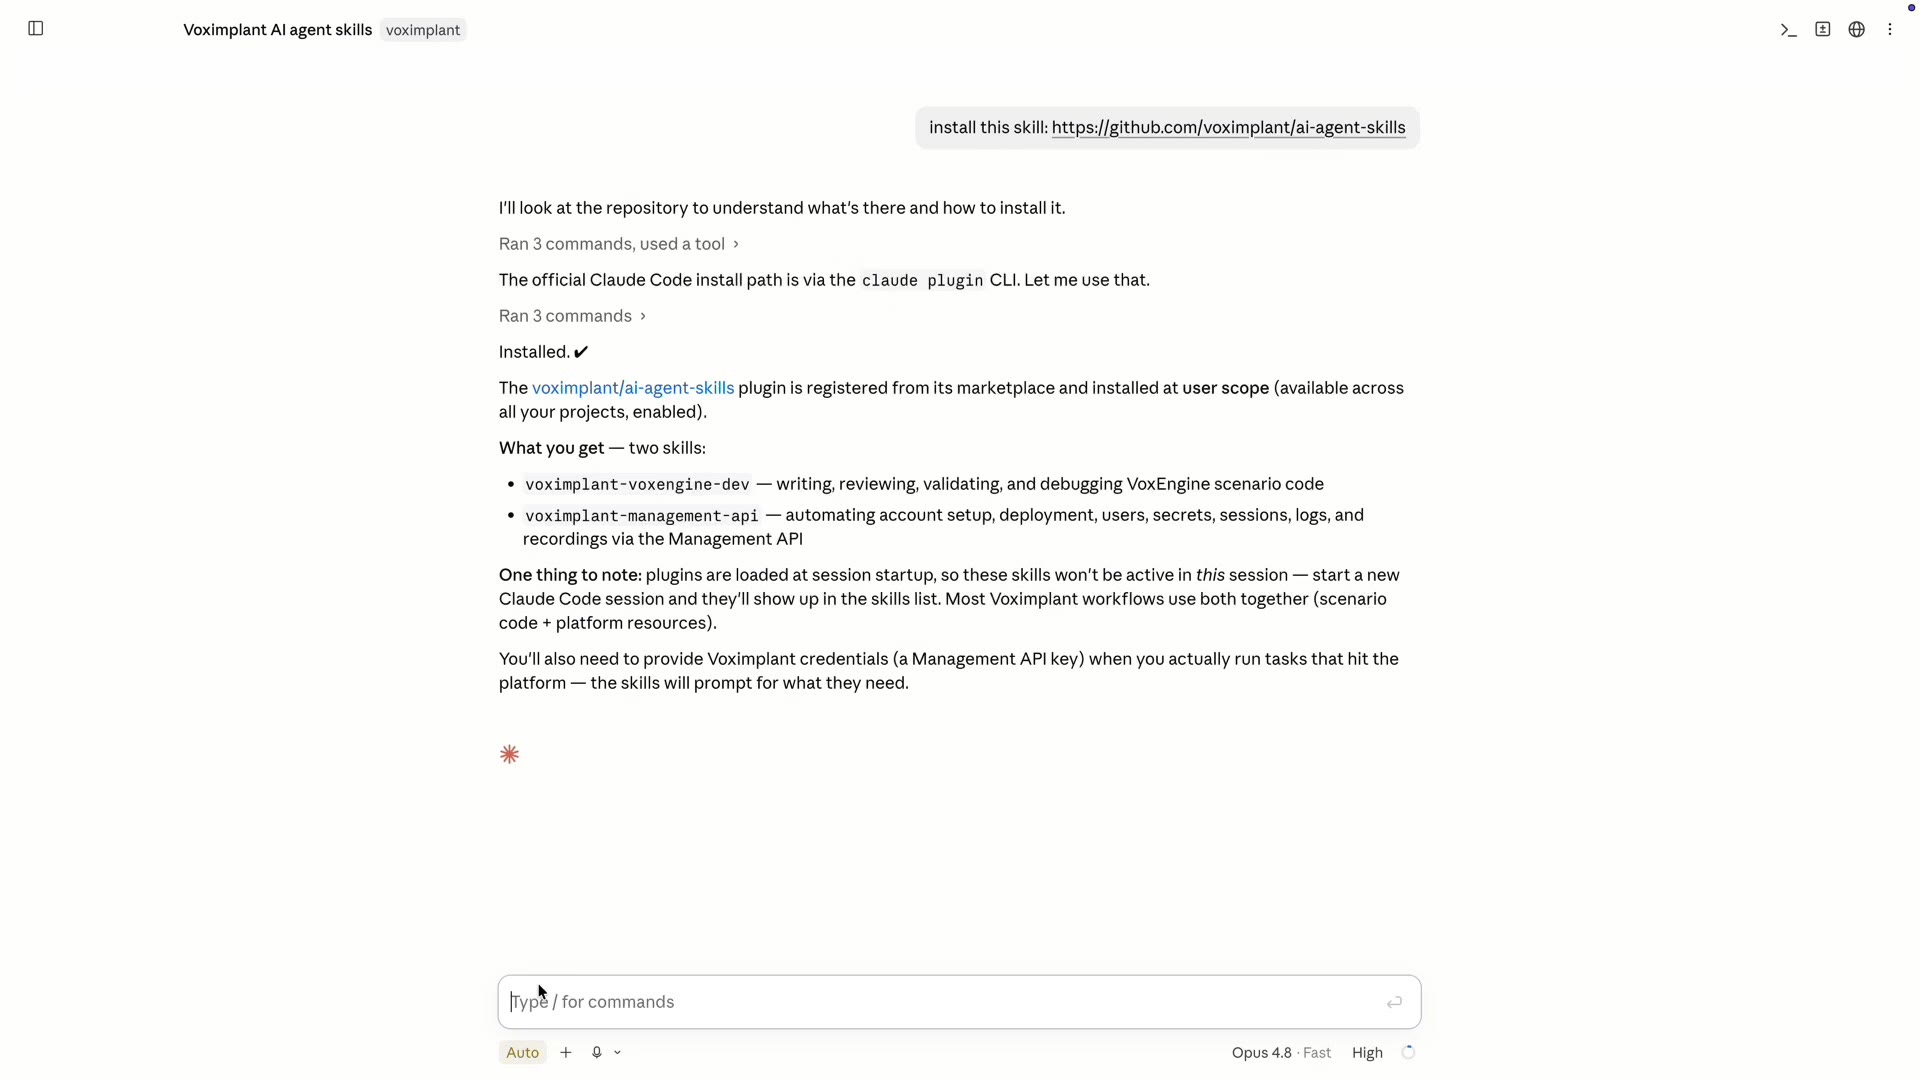
Start a new Claude Code session so the plugin loads, then open your project folder.
For additional installation methods, see the Voximplant AI Agent Skills README.
Start with one prompt
Paste this prompt into the new Claude Code session:
Claude may ask follow-up questions before it builds the app. Review any account-changing commands before approving them.
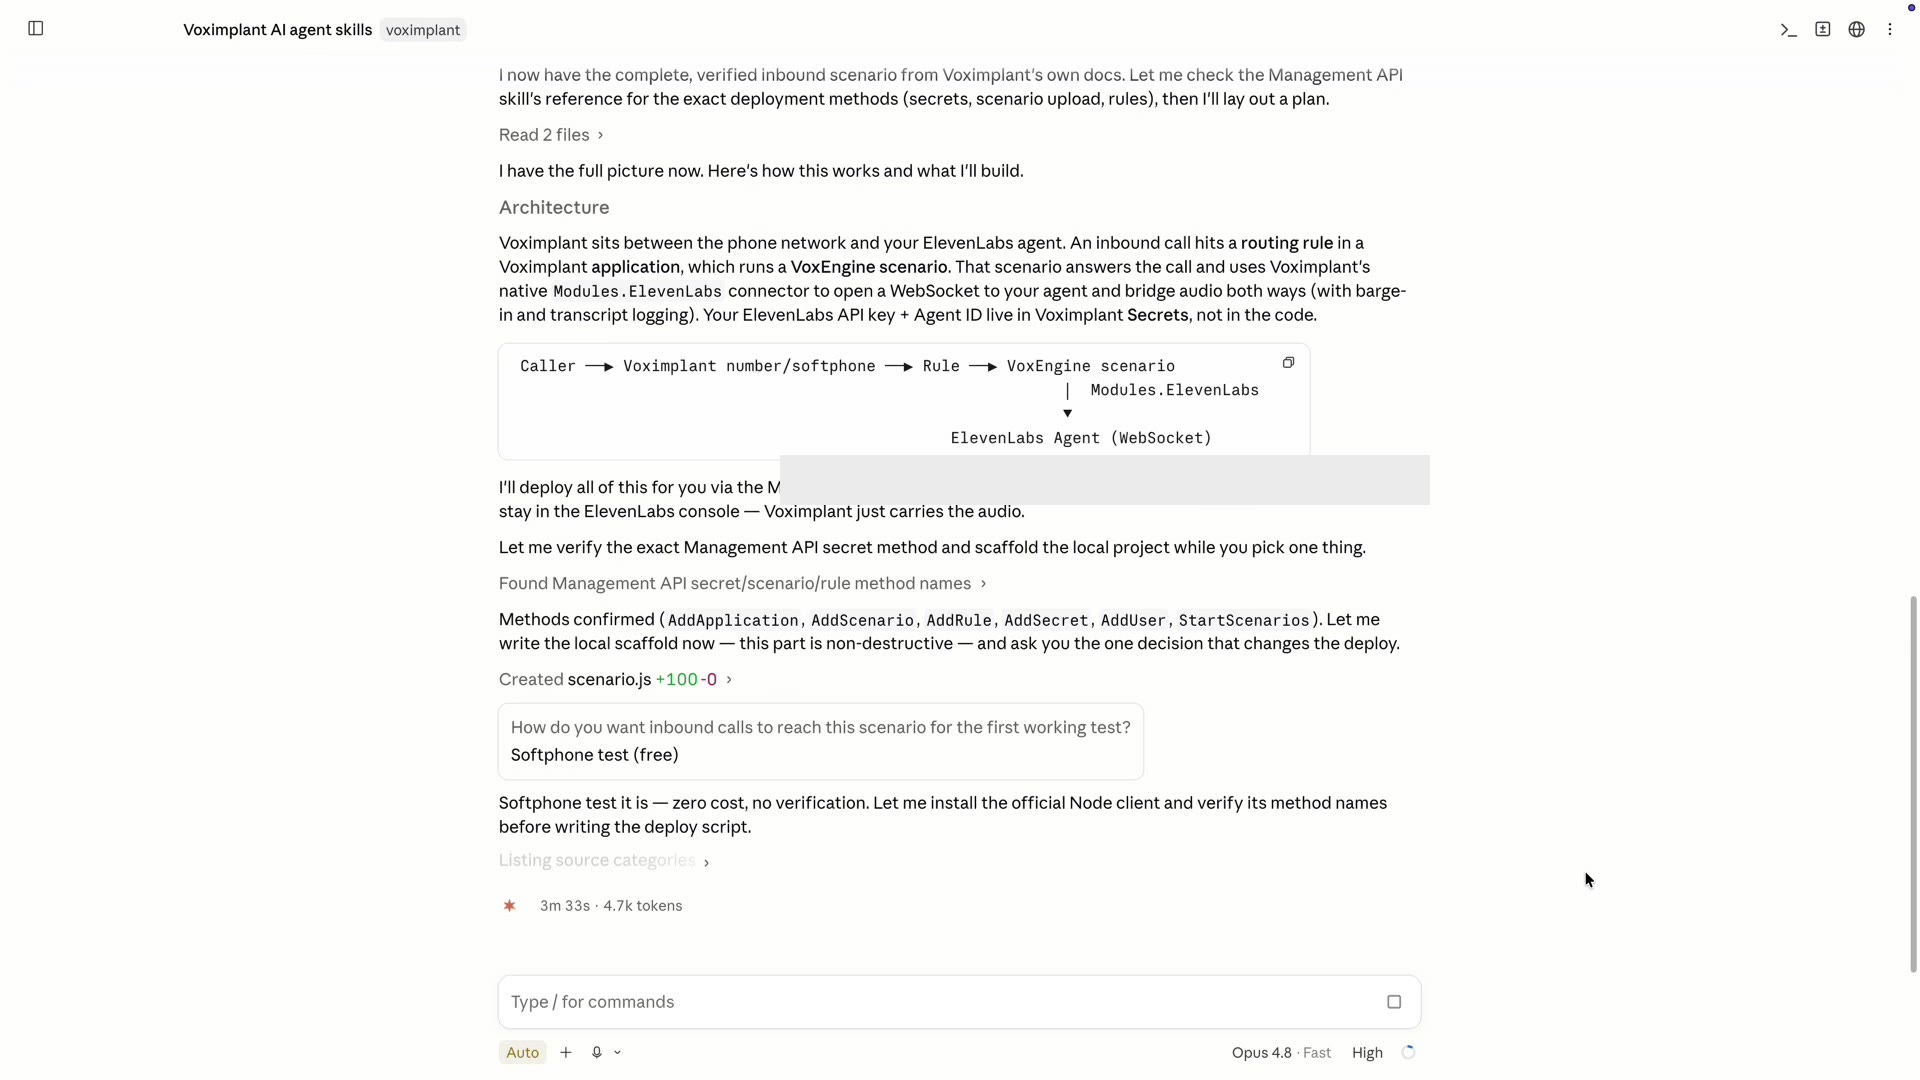
Claude then builds and deploys the scenario, configures the test application, stores the ElevenLabs credentials in Voximplant Secrets, and returns the four softphone sign-in values.
Part 4: Place a test call
Open phone.voximplant.com in Chrome, Edge, or Safari. Do not use Claude’s built-in browser because it may not provide microphone access.
Enter the four values Claude returns into four separate fields:
- Username
- Password
- Application name
- Account name
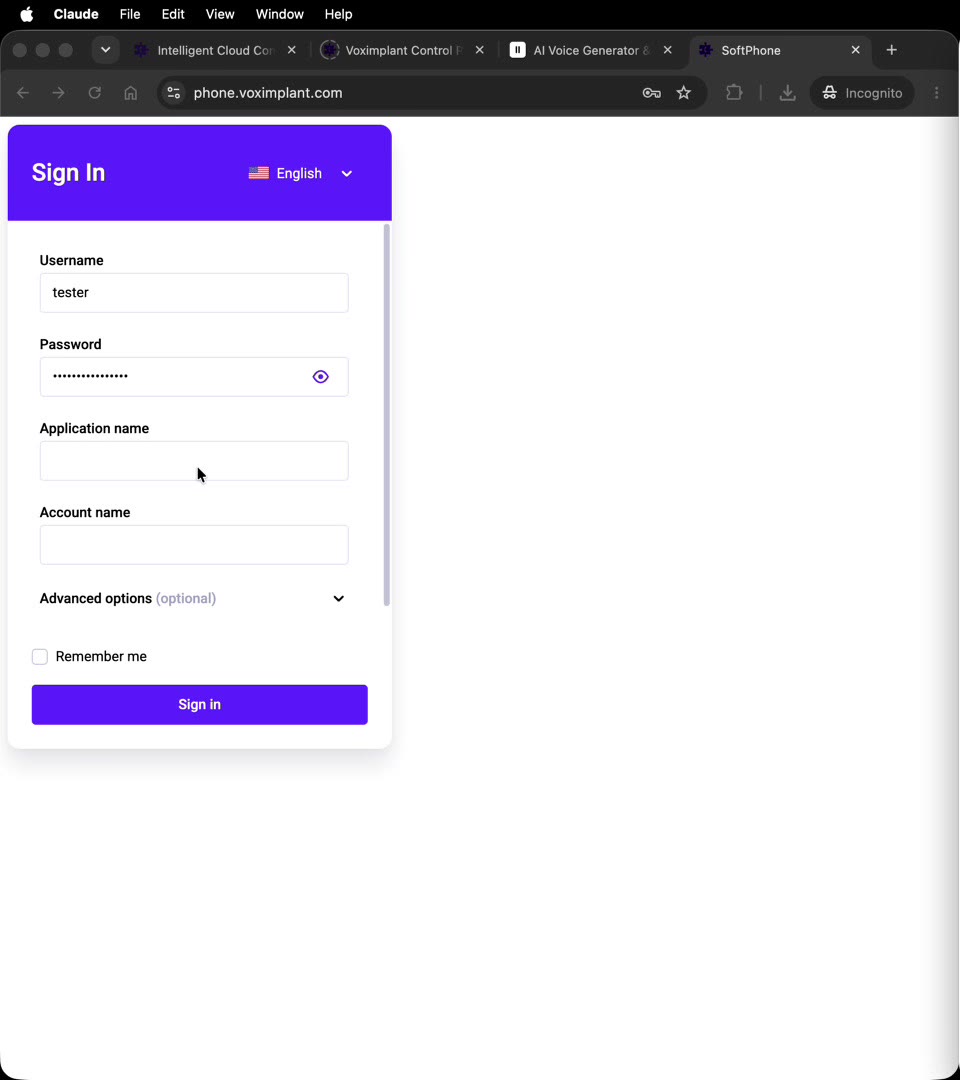
After signing in:
- Enter
1as the destination—the test routing rule accepts any value. - Start the call.
- Allow microphone access if the browser asks.
- Speak to the ElevenLabs agent.
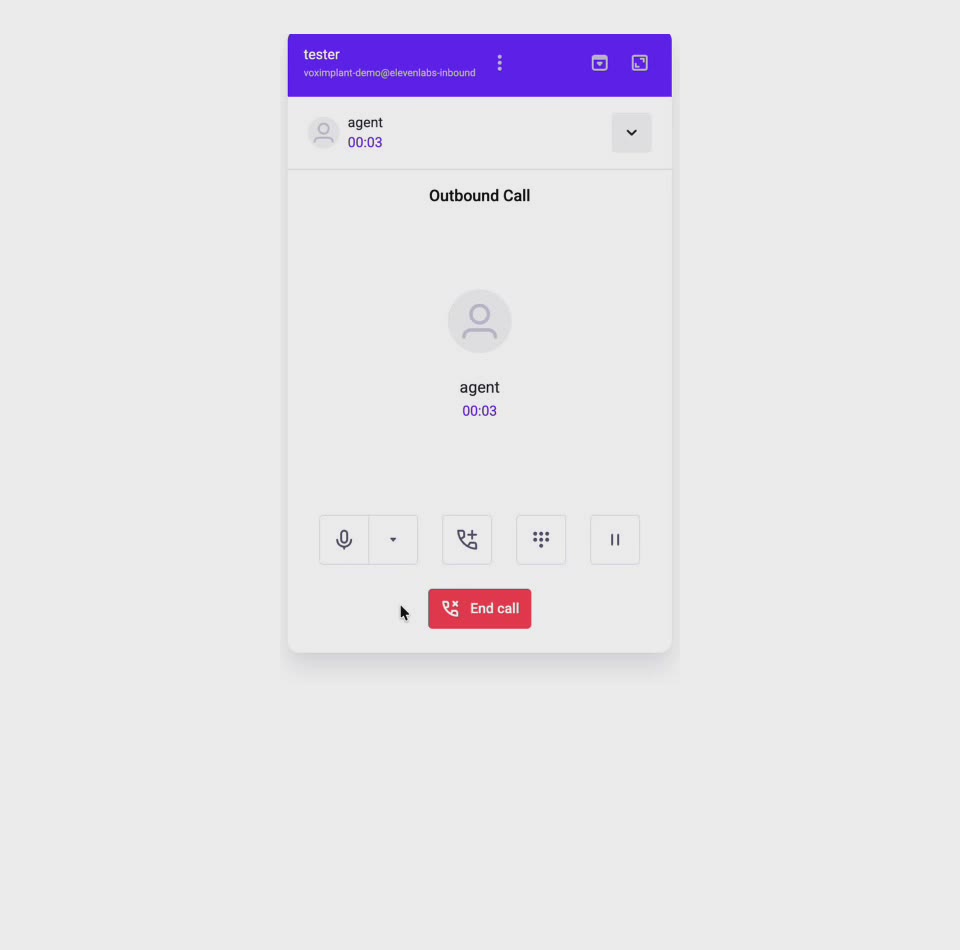
You’re done!
If the call connects and you can talk to your ElevenLabs agent, everything is working. Congratulations—your agent can now answer calls through Voximplant!
If the call fails
You do not need to search the control panel manually. Tell Claude what happened and let both skills run the build-test-debug loop:
Useful details include the approximate call time, destination, and what you heard or saw. Do not paste passwords or private keys.
Common first-test issues:
- The plugin is not available: start a new Claude Code session after installation.
- Softphone sign-in fails: verify that all four fields are separate and match the application Claude created.
- The browser cannot use the microphone: open the web phone in a normal browser tab and grant microphone permission.
- The call ends or stays silent: ask Claude to inspect the latest call and logs before changing the scenario.
Next steps
After the softphone test works, ask Claude to extend the same project:
- Bind an inbound PSTN number.
- Place outbound calls.
- Connect SIP devices or infrastructure.
- Add web or mobile calling clients.
- Integrate WhatsApp calling.
- Switch to another Voice AI provider.
Phone numbers may require verification and incur charges.