Screen sharing
Voximplant SDKs allow developers to share their device screen to a call or conference.
How to share the screen in Web SDK
Screen sharing works in all desktop web browsers, such as Chrome, Edge, Safari, and Firefox.
Mobile browsers
Mobile browsers do not support screen sharing.
To share the screen during an active call started via call() method, use the shareScreen() method during an active call. This method replaces the user video with screen sharing. Please note that you cannot share both the user video and device screen simultaneously.
Autoplay
Please note, that most browsers do not support video autoplay. To avoid any errors, implement an interactive element that starts video playback on the web video element. Read this article for more information.
To stop screen sharing, use the stopSharingScreen() method. You can also stop screen sharing via the browser’s native button to stop screen sharing.
To share the screen during a conference, you can use the shareScreen() method as well to replace the user video with screen sharing. If you need to share both user video and device screen, you can use the joinAsSharing() method to add your screen sharing as a separate conference participant.
The joinAsSharing() method accepts three parameters:
- num: conference number
- sendAudio: optional boolean parameter that specifies whether to send audio track or not
- extraHeaders: optional X-headers to pass into the call’s INVITE message
To stop screen sharing that is connected as a separate conference participant, use the SharingCall.hangup() method.
To track if a user changed the video to screen sharing or vice versa, subscribe to the MediaRendererUpdated event. The result of this event has the type parameter, which specifies the video source.
How to share the screen in Android SDK
Screen sharing for Android is based on Android’s MediaProjection API. The minimum required Android version is 21.
Before you start screen sharing, request the user permission to share the screen via the MediaProjectionManager.createScreenCaptureIntent method, then handle the result via the startActivityForResult method.
Screen sharing can start only if a user gives permission for this action.
To start screen sharing, use the IstartScreenSharing method and pass to it the Intent.
Use the ICallCompletionHandler event to check if the screen sharing started successfully. In case of success, the ICallCompletionHandler.onComplete event is triggered, otherwise, the ICallCompletionHandler.onFailure event is triggered with the error code. You can see the error code list in the CallError enum.
To stop screen sharing, change the sendVideo method’s first argument. Set it to true to stop screen sharing and start sending the user video. Set it to false to stop screen sharing and send nothing to the call.
How to share the screen in iOS SDK
There are two ways to share your screen in iOS:
- Application screen sharing: Easy to implement, but you can share only the screen of your application. For example, if you build a banking application, and you need to share the client’s screen for support purposes.
- Broadcast screen sharing: You can share the screen of your device including home screen, panels, and any other 3rd-party applications, but you need to install the Broadcast Upload App/Setup UI App extensions.
The minimum required iOS version to share the screen is 11.
Application screen sharing
To share the application screen, use the VICall.startInAppScreenSharing method. After the user accepts the standard iOS security prompt, the screen sharing starts. The user’s decision is not saved between application launches.
To stop sharing your application screen, use the VICall.setSendVideo method. Set it to true to stop screen sharing and start sending user video. Set it to false to stop screen sharing and send nothing to the call.
Broadcast screen sharing
iOS Broadcast screen sharing allows users to share the screen of your device including home screen, panels, and any other 3rd-party applications, but you need to install the Broadcast Upload App/Setup UI App extensions.
Warning
iOS Broadcast screen sharing works only in conferences, due to the technical implementation of obtaining frames in iOS (in a separate operating system process).
To implement Broadcast screen sharing you need to install a separate application extension to your Xcode project.
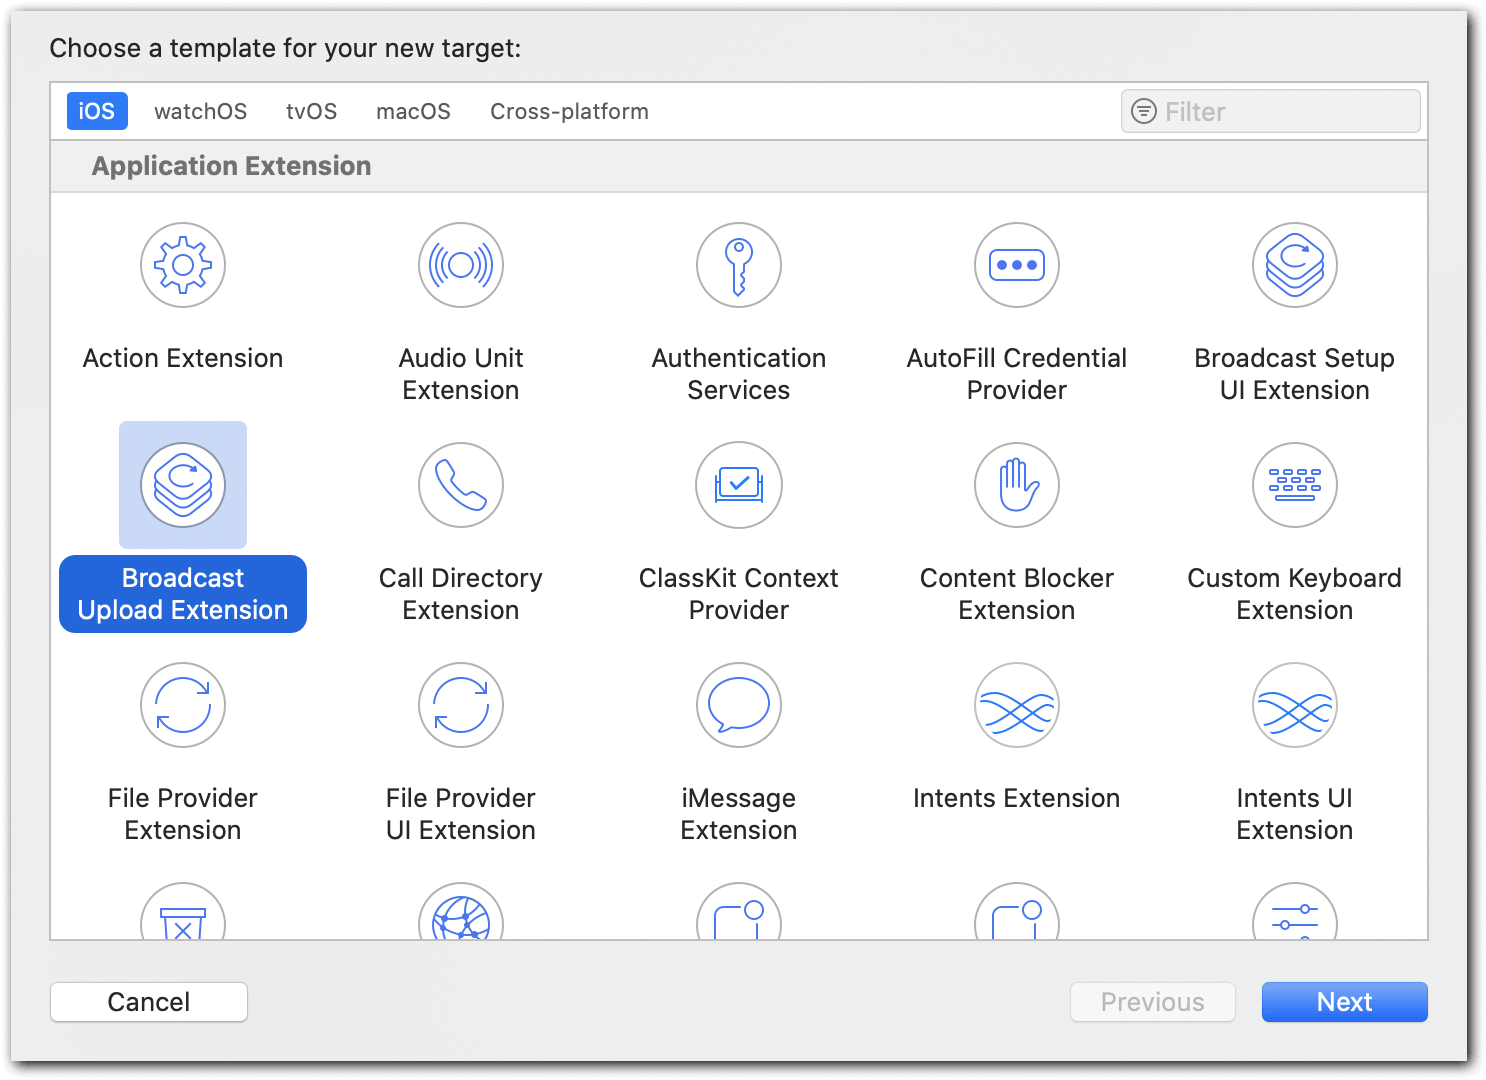
Open your Xcode project and go File → New → Target → Broadcast Upload Extension:
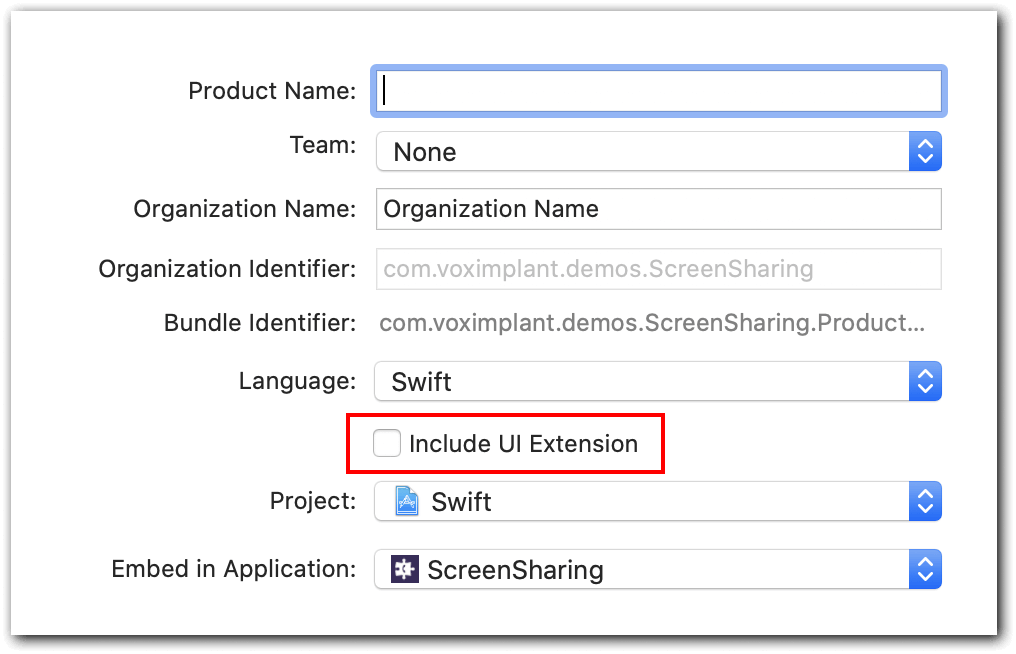
Click Next, enter a name for a new target, and unselect the Include UI Extension checkbox as you do not need it.
After Broadcast Upload Extension adds to your Xcode project, you can launch it via two ways:
- Control panel, available since iOS 11. Add a screen recording button in the Settings → Control center → Customize controls → Screen recording. Then open your control panel and choose the Screen recording feature, then select BroadcastUploadExtension.
- Button in your application, available since iOS 12. Add an RPSystemBroadcastPickerView button to your application to launch screen sharing.
After the user gives permission for broadcasting, the application extension process launches, and the control is switched to the RPBroadcastSampleHandler broadcastStartedWithSetupInfo method.
Next, your application needs to connect to the Voximplant cloud and authorize the user. The token-based authorizaion is preferred.
You can pass the credentials and the roomid from your app to Voximplant through the app extension, e.g., Keychain or UserDefaults. Bear in mind that this requires setting up the App Group.
Now the application should create a new call, connect it to the conference, and start sending frames to the conference. The screen frames are processed via the VICustomVideoSource class.
Due to RAM restrictions for app extensions (50 Mb RAM limit):
- Receiving of voice and video should be disabled for screen sharing call
- Audio sending should be disabled
- The codec should be H.264
To pass the screen capture to the call, implement a custom video source via the initScreenCastFormat constructor.
Broadcast extension sends the frames via the RPBroadcastSampleHandler.processSampleBuffer method.
There are three types of the frames: .video, .audioApp, .audioMic. The .video frames should be passed to a custom video source via the sendVideoFrame:rotation method. You can obtain the rotation from the resulting frame.
As you have two separate participants in the conference (the call and the screen sharing), you need to synchronize the statuses of two calls. For example, you have to pass the information about the end of one call to the other, between the processes of the operating system. To do this, you can use the CFNotifyCenterGetDarwinNotifyCenter method.
Known issues
- PSystemBroadcastPickerView may not work correctly when you add it to a Storyboard. To fix this, initialize it first:
let _ = RPSystemBroadcastPickerView ().
-
- If you experience the “EXCRESOURCE RESOURCETYPE_MEMORY (limit = 50 MB, unused = 0x0)” error, you probably use the VP8 codec. Switch to the h.264 codec to fix the issue.